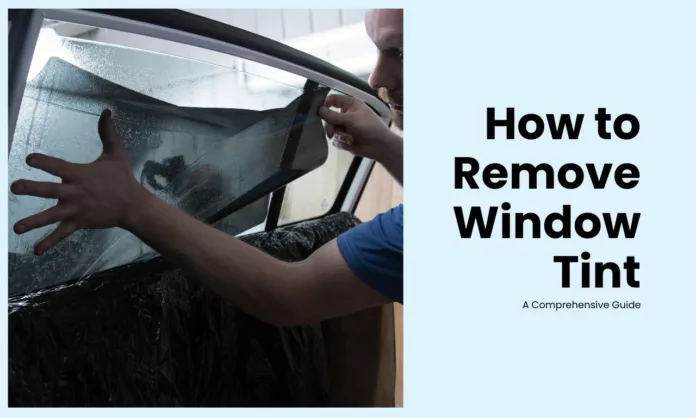
Window tinting is a popular choice for many vehicle owners and homeowners. It offers several benefits, such as privacy, UV protection, and heat reduction. However, there may come a time when you need to remove the window tint for various reasons, such as changing laws or personal preference. While removing window tint can be a daunting task, with the right tools and techniques, you can accomplish it effectively. In this article, we will provide you with a step-by-step guide on how to remove window tint.
Table of Contents
Before You Begin
Before diving into the removal process, it’s essential to gather the necessary tools and materials. Below is a comprehensive list of essential items required for the window tint removal process:
- Steamer or Heat Gun: A steamer or heat gun will help soften the adhesive and make the tint easier to remove.
- Razor Blade or Scraper: A sharp razor blade or scraper will be required to peel off the tint and remove any leftover adhesive.
- Glass Cleaner: After removing the tint, you’ll need a glass cleaner to clean the windows thoroughly.
- Paper Towels or Clean Cloth: These will be used to wipe the windows during the cleaning process.
- Plastic Sheeting: Plastic sheets will protect the interior of your vehicle or home from water and adhesive residue.
Step-by-Step Guide on How to Remove Window Tint
Prepare the Work Area:
Start by preparing the work area. If you’re working on a vehicle, park it in a shaded, well-ventilated area. For home window tint removal, select a room with adequate ventilation and cover the floor and surrounding areas with plastic sheets to prevent any mess.
Apply Heat to the Tint:
Using a steamer or heat gun, apply heat to the window tint. Move the tool in a sweeping motion, heating the tint evenly. The heat will effectively soften the adhesive, making it easier to remove. Be careful not to overheat the window, as excessive heat may damage the glass.
Peel Off the Tint:
Once the adhesive has been heated sufficiently, start peeling off the tint. Begin at one corner and slowly pull it away from the glass. If the tint resists, apply additional heat and persist with the peeling process. Take your time to avoid tearing the tint or leaving adhesive residue behind.
Remove the Adhesive:
After removing the tint, you’ll notice adhesive residue on the window. To remove it, use a razor blade or scraper at a 45-degree angle. Gently scrape off the adhesive, being cautious not to scratch the glass. If the adhesive is stubborn, reapply heat to soften it further.
Clean the Window:
Once the tint and adhesive have been removed, it’s time to clean the window. Spray a glass cleaner onto the window and use paper towels or a clean cloth to wipe away any residue. Pay extra attention to corners and edges where adhesive may be lingering.
Repeat the Process:
If your window has multiple layers of tint or particularly stubborn adhesive, you may need to repeat steps 2-5 to ensure a thorough removal. Take your time, applying heat as needed, and ensuring all adhesive is completely removed before proceeding.
Final Cleaning:
After removing the window tint and adhesive, give the window a final cleaning. Spray glass cleaner onto the surface and wipe it clean with paper towels or a clean cloth. Inspect the window for any remaining adhesive or streaks and repeat the cleaning process if necessary.
Conclusion
Removing window tint can be a meticulous process, but with the right tools and techniques, it can be accomplished effectively. By following the step-by-step guide outlined in this article, you’ll be able to remove window tint from your vehicle or home windows. Remember to exercise caution when using sharp tools and apply heat appropriately to prevent damage to the glass. With patience and diligence, you can successfully remove window tint and restore your windows to their original state.

