

Encountering a “Page Fault in Nonpaged Area” error can be a significant source of frustration for any computer user. This error, often displayed as a Blue Screen of Death (BSOD) on Windows operating systems, signals a critical issue that necessitates immediate attention. Typically, it points towards problems related to memory management, although it can also be a symptom of broader system issues, including hardware failures, driver conflicts, and corrupted system files.


Understanding how to approach this error is crucial for both resolving the immediate problem and maintaining the overall health and performance of your computer. This article aims to demystify the “Page Fault in Nonpaged Area” error by providing a comprehensive, step-by-step guide to troubleshoot and fix the underlying causes. From basic steps like restarting your computer and updating drivers to more advanced solutions like system file checks and hardware diagnostics, this guide covers a range of strategies suited for both novice users and seasoned tech enthusiasts.
By following the steps outlined in this guide, you’ll not only be equipped to tackle the “Page Fault in Nonpaged Area” error but also develop a deeper understanding of your computer’s operation and how to keep it running smoothly. Whether the issue lies in software conflicts, outdated drivers, or more complex hardware issues, this guide will lead you through the process of identifying and addressing the root cause of the problem.
Table of Contents
Step 1: Restart Your Computer


Initial Step
- Why Restart: Restarting your computer can resolve a variety of issues, including the “Page Fault in a Nonpaged Area” error. This is because restarting clears the RAM (Random Access Memory), terminates running processes, and gives your system a fresh start. Sometimes, transient problems, like minor memory leaks or temporary software glitches, can cause this error, and a restart effectively clears these issues.
- How to Restart Properly: To restart, go to the Start menu, click on the Power button, and select Restart. Avoid using the Reset button on your computer as it can cause a hard reboot, which might worsen existing problems.
If Error Persists
- Repeated Occurrence: If the error reappears after restarting, it indicates a more persistent issue. In such cases, further troubleshooting is required.
Step 2: Undo Recent Changes
Check for Recent Changes
- Identifying the Cause: Often, the “Page Fault in Nonpaged Area” error can be traced back to recent changes in your system. These changes could include hardware additions, new software installations, or driver updates.
- Hardware Changes: If you’ve recently added new hardware (like RAM, a hard drive, or a graphics card), try removing or replacing it to see if it’s the cause of the error.
- Software and Driver Updates: Similarly, software installations or updates, particularly system-level updates, can lead to compatibility issues or system instability.
Uninstall Recent Software
- Procedure: To uninstall recently added software, navigate to Control Panel > Programs > Programs and Features. Here, you’ll see a list of installed programs. Look for programs installed around the time the error started and select Uninstall. Be sure to restart your computer after uninstalling to ensure changes take effect.
- Why It Helps: Uninstalling recent software can eliminate compatibility issues or bugs introduced by the new software that might be causing the system to display the BSOD error.
Roll Back Drivers
Steps to Roll Back: If you’ve recently updated a driver, it could be causing the error. To roll back a driver:
- Open Device Manager by searching for it in the Start menu.
- Locate the device whose driver was recently updated.
- Right-click on the device and select Properties.
- Go to the Driver tab and click on ‘Roll Back Driver’ if the option is available.
Why Roll Back: Drivers are integral to the communication between your operating system and hardware. An incompatible or buggy driver update can lead to system crashes. Rolling back the driver reverts to the previous version, which might be more stable.
By methodically following these steps, you can potentially resolve the “Page Fault in Nonpaged Area” error. These initial steps are aimed at addressing the most common and easily rectifiable causes of the error, namely transient system issues and recent changes to the system.
Step 3: Run Windows Memory Diagnostic
Check for RAM Issues
Purpose: The Windows Memory Diagnostic tool checks for problems with your computer’s RAM. Faulty or failing RAM can cause a variety of issues, including the “Page Fault in Nonpaged Area” error.
How to Run the Tool:
- Access the Tool: Type “Windows Memory Diagnostic” in the Windows search bar and select it.
- Start the Test: You will have two options: to restart immediately and check for problems, or to check the next time you start your computer. Select the option that aligns most appropriately with your present circumstances.
- Monitoring the Test: The test will run automatically upon restart. Your screen will display the status of the test and any problems detected. This process can take several minutes.
- Reviewing Results: After the test, your computer will restart automatically. You can view the results of the test in the Event Viewer, under Windows Logs > System. Look for entries from “MemoryDiagnostics-Results”.
Interpreting Results
- No Issues Found: If the diagnostic tool does not find any issues, your RAM is likely not the cause of the error.
- Issues Detected: If problems are found, it could mean your RAM is faulty. Consider replacing your RAM if errors are reported.
Step 4: Check Disk for Errors

Use CHKDSK
Purpose: CHKDSK (Check Disk) is a Windows utility that checks the file system and file system metadata of a volume for logical and physical errors. It is useful for fixing problems related to bad sectors, cross-linked files, lost clusters, and directory errors.
How to Run CHKDSK:
- Open Command Prompt as Administrator: Search for “Command Prompt” in the Windows search bar, right-click on it, and select “Run as administrator”.
- Run CHKDSK: In the Command Prompt, type chkdsk /f /r and press Enter. The /f parameter tells CHKDSK to fix any errors it finds; /r tells it to locate bad sectors on the drive and recover readable information.
- Restart Your Computer: Since CHKDSK needs exclusive access to the disk, it might ask you to schedule the scan at the next system restart. Acknowledge this request, and proceed to restart your computer.
During the CHKDSK Process
- What Happens: On restart, CHKDSK will start scanning your drive. This can take some time, especially on larger drives.
- After Completion: Once CHKDSK finishes, your computer will boot normally. You can view the CHKDSK results in the Event Viewer, under Windows Logs > Application. Look for a source named “Wininit” or “Chkdsk”.
These tools help identify and fix issues related to RAM and hard drive errors, which are common causes of this type of system crash. If these steps do not resolve the problem, it might be indicative of more complex issues within the system.
Step 5: Update Drivers
Why It’s Important: Drivers are essential software components that allow your operating system to communicate with hardware devices. Outdated, corrupt, or incompatible drivers can cause various system issues, including the “Page Fault in Nonpaged Area” error.
How to Update Drivers Using Device Manager:
- Access Device Manager: Press Win + X and select Device Manager, or type “Device Manager” in the Windows search bar and open it.
- Identify Devices: In Device Manager, you’ll see a list of all the hardware components and peripherals connected to your computer.
- Update Each Driver: Expand each category to see the devices. Right-click on a device and select ‘Update driver’. Then, choose ‘Search automatically for updated driver software’. Windows will initiate a search and subsequently install any updates that are available.
- Repeat for All Necessary Drivers: Go through each category, especially those related to major hardware components like display adapters, network adapters, and sound, video, and game controllers.
After Updating Drivers
- Restart Your Computer: After updating the drivers, restart your computer for the changes to take effect.
- Manual Updates: If Windows doesn’t find an update, you can visit the manufacturer’s website to check for the latest drivers and follow their installation guidelines.
Step 6: Run System File Checker
Use SFC Tool
Purpose of SFC: The System File Checker (SFC) is a Windows utility that scans for and repairs corrupted or missing Windows system files. These file issues can cause various problems, including BSOD errors.
How to Run SFC:
- Open Command Prompt as Administrator: Type “Command Prompt” in the Windows search bar, right-click on it, and select “Run as administrator”.
- Execute SFC Command: In the Command Prompt, type sfc /scannow and press Enter. This command will initiate a system scan, which can take some time to complete.
- Wait for the Scan to Complete: The SFC tool will scan all protected system files and replace corrupted files with a cached copy located in a compressed folder at %WinDir%\System32\dllcache.
- Review the Results: Once the scan is complete, the SFC tool will provide details about the scan and any actions taken.
Post SFC Scan
- System Restart: After the scan and repair process, restart your computer.
- Possible Outcomes: The SFC tool might fix the issue if it was due to corrupted system files. If the tool finds no integrity violations, your system files are not the cause of the issue.
These actions help ensure that your system’s hardware communicates effectively with the operating system and that the core system files are intact and functioning correctly.
Step 7: Check for Viruses and Malware

Run Antivirus Software
Importance of Virus Scan: Malware and viruses can significantly disrupt the normal functioning of your system, potentially leading to errors like “Page Fault in a Nonpaged Area.” These malicious programs can corrupt system files, interfere with driver operations, or consume system resources, leading to instability.
How to Conduct a Full System Scan:
- Choose an Antivirus Program: Use a trusted antivirus program. If you don’t have one installed, Windows Security (formerly Windows Defender) is a robust built-in option.
- Initiate a Full Scan: Open your antivirus software and select the option for a full system scan. This is more comprehensive than a quick scan and will check all files and running programs on your hard disk.
- Run the Scan: Start the scan and wait for it to complete. This process can take several hours, depending on the size of your hard drive and the speed of your system.
- Review and Take Action: After the scan, review the findings. The antivirus program will typically provide options to remove or quarantine any detected malware.
Post-Scan Actions
- Resolve Detected Issues: Follow the antivirus program’s recommendations to deal with any detected malware.
- Regular Scans: Regularly run antivirus scans to maintain system health.
Step 8: Disable Automatic Paging File Size Management
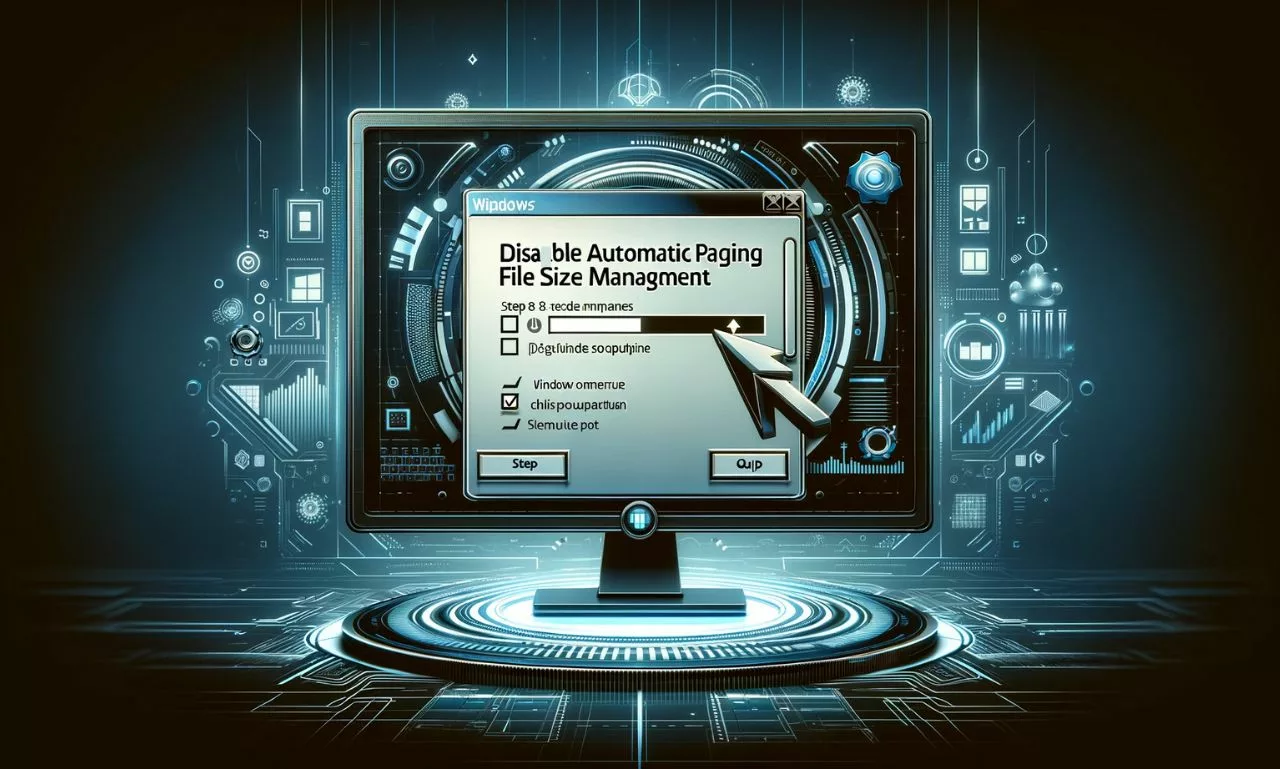
Manual Paging File Size
- Understanding the Paging File: The paging file (also known as the swap file or pagefile) is a file on your hard drive used by Windows to supplement the physical RAM in your system. It holds the data that is currently not in use or that can’t fit into the RAM.
- Why Adjust Paging File: Sometimes, the default settings for the paging file might not be optimal for your specific configuration, especially if you frequently encounter memory-related errors.
Steps to Manually Configure Paging File Size
- Access System Properties: Right-click on ‘This PC’ or ‘My Computer’ on your desktop or in File Explorer, and select ‘Properties’. Then, click on ‘Advanced system settings’.
- Advanced Performance Settings: In the System Properties window, go to the ‘Advanced’ tab. Under Performance, click on ‘Settings’.
- Adjust Paging File Settings: In the Performance Options window, go to the ‘Advanced’ tab, and under Virtual memory, click ‘Change’.
- Disable Automatic Management: By default, “Automatically manage paging file size for all drives” is checked. Uncheck this option.
Set Custom Size:
- Custom Size: Select a drive, click ‘Custom size’, and enter initial and maximum sizes for your paging file. A general guideline is to set the initial size to the amount of physical RAM in your system and the maximum size to three times the amount of RAM.
- System Managed Size: Alternatively, you can select ‘System managed size’ to let Windows choose the best paging file size.
- Apply Changes and Restart: Click ‘Set’, then ‘OK’, and restart your computer for the changes to take effect.
These actions help to ensure system security and optimal memory management, which can prevent or resolve errors related to system instability and memory management issues.
Step 9: Restore System to an Earlier Point
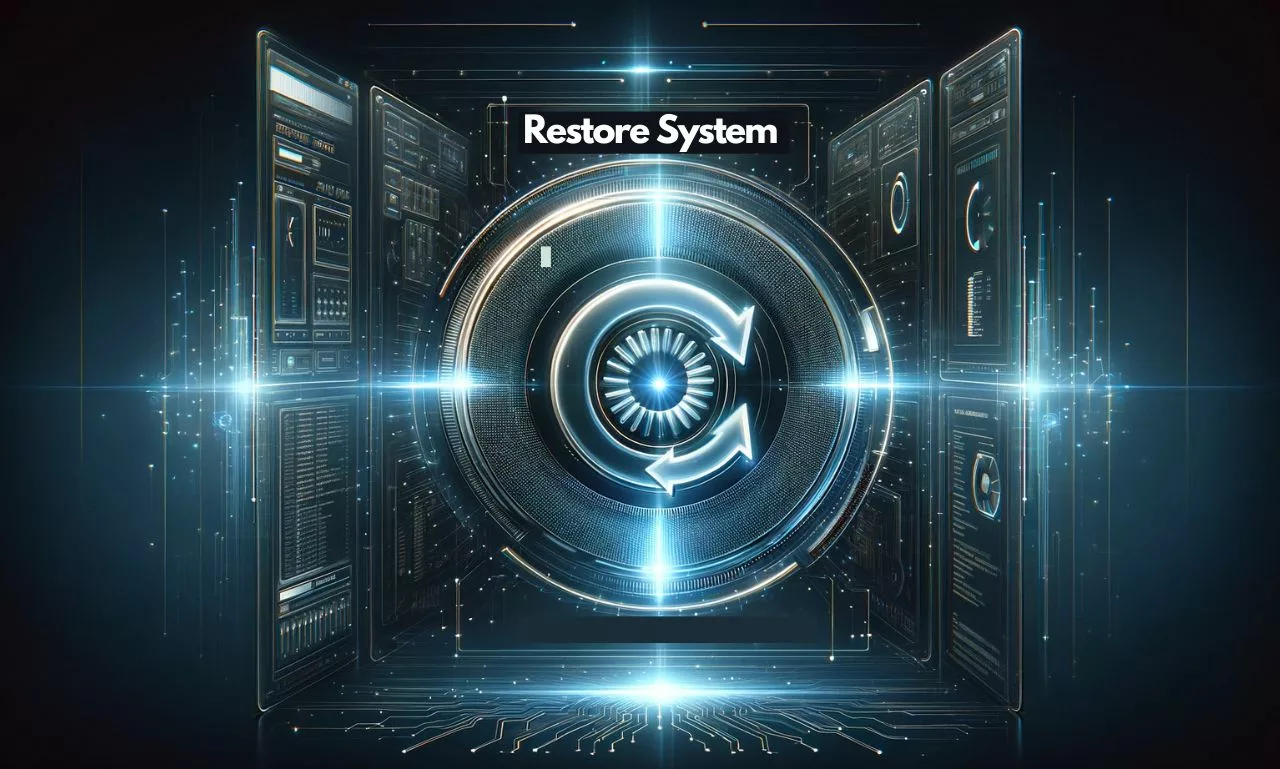
System Restore
Purpose of System Restore: System Restore is a feature in Windows that allows you to roll back your system’s state (including system files, installed applications, Windows Registry, and system settings) to a previous point in time. This can be useful for undoing recent changes that might have caused system issues like the “Page Fault in Nonpaged Area” error.
How to Perform System Restore:
- Access System Restore: Type “Create a restore point” in the Windows search bar and select it. In the System Properties dialog, select the ‘System Restore’ button.
- Choose a Restore Point: The System Restore wizard will guide you through selecting a restore point. Choose a date before the problem started occurring. If you’re unsure, System Restore can suggest restore points.
- Initiate the Restore Process: Follow the on-screen instructions to initiate the restoration. Your computer will restart during this process, and the system settings will be rolled back to the chosen restore point.
- Post-Restoration: After the process is complete, check if the error has been resolved.
Important Considerations for System Restore
- No Effect on Personal Files: System Restore does not affect your personal files like documents, emails, or photos. It only impacts system files and settings.
- Restore Point Availability: If you haven’t enabled System Protection or there are no restore points available, this option might not be feasible.
- Undoing a Restore: If the restore doesn’t help or causes other issues, you can undo the restore operation by running System Restore again and selecting ‘Undo System Restore’.
Step 10: Hardware Assessment
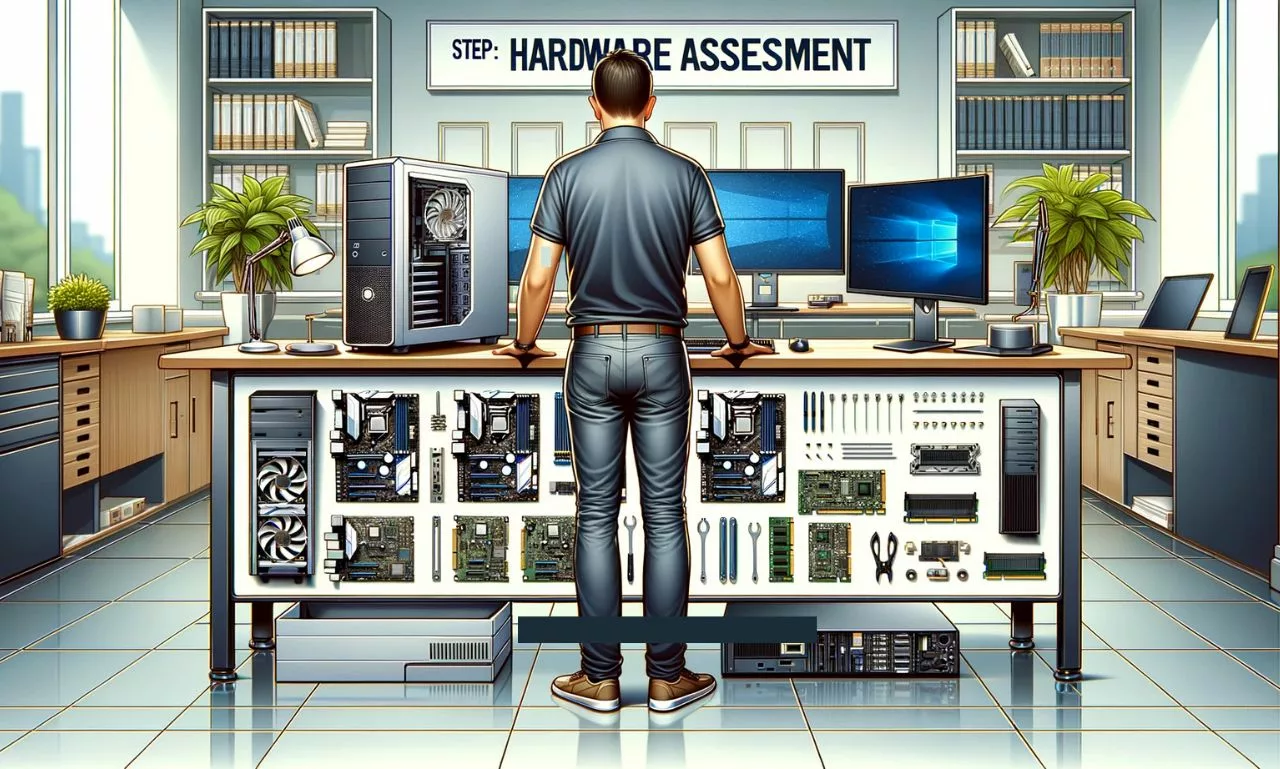
Check Hardware
Identifying Hardware Issues: If all the above software-based troubleshooting steps fail, the problem might be related to hardware. Common culprits include faulty RAM, a failing hard drive, or other critical components.
How to Assess Hardware:
- RAM Test: Use tools like MemTest86 to thoroughly test your RAM for errors. This is more comprehensive than the Windows Memory Diagnostic tool.
- Hard Drive Health: Use disk utility software to check the health of your hard drive. Look for signs of failure like bad sectors or mechanical issues.
- Checking Other Components: Inspect other components such as the motherboard, CPU, and power supply. Look for physical damage, overheating signs, or loose connections.
Seeking Professional Help
When to Consult a Professional: If you’re not comfortable performing hardware diagnostics or if the diagnostics indicate a potential hardware failure, it’s advisable to consult a professional technician. They can perform more in-depth diagnostics, repair or replace faulty components, and provide guidance on the best course of action.
Important Notes
- Backup Your Data: Before attempting hardware diagnostics or repairs, ensure that all your important data is backed up.
- Warranty Check: If your computer is still under warranty, consult the manufacturer or the vendor before opening the case or attempting any repairs, as this might void the warranty.
A thorough hardware assessment, either done personally or by a professional, can help identify and rectify any underlying hardware issues. Addressing both software and hardware aspects is crucial in comprehensively resolving this error.
Conclusion
The “Page Fault in Nonpaged Area” error is a challenging issue that can arise due to various factors ranging from software conflicts and corrupted system files to hardware malfunctions. Methodically following the steps outlined – from simple restarts and undoing recent changes, through checking for malware, managing system files, to hardware assessment – can effectively help in diagnosing and potentially resolving this error. Each step targets specific aspects of your system, ensuring a comprehensive approach to troubleshooting.
It’s crucial to remember that persistence of this error after these interventions could be indicative of more profound and complex issues, possibly at the hardware level. In such instances, the problem may extend beyond the scope of typical software fixes, necessitating professional diagnosis and repair. Seeking assistance from a qualified technician can provide a thorough examination of your hardware, ensuring that any underlying issues are identified and addressed appropriately.
Additionally, it’s important to maintain regular system backups and keep your operating system and drivers updated to prevent such errors. Regular maintenance, including routine checks for malware and consistent system updates, plays a vital role in the overall health and stability of your computer.
Finally, while the “Page Fault in Nonpaged Area” error is intimidating, a structured and careful approach to troubleshooting can often lead to a resolution. However, should the issue persist, acknowledging the potential for hardware problems and seeking expert help is a prudent course of action. Ensuring the longevity and optimal performance of your computer system sometimes requires both personal diligence and professional expertise.


