

Unlocking the sacroiliac (SI) joint by yourself involves a series of exercises and stretches that may help alleviate the discomfort associated with SI joint dysfunction. It’s important to note that while these techniques can be helpful, they are not a substitute for professional medical advice. Always consult with a healthcare provider before beginning any new exercise regimen, especially if you have a history of SI joint or back problems.


Table of Contents
Step 1: Warm-Up with Light Cardio

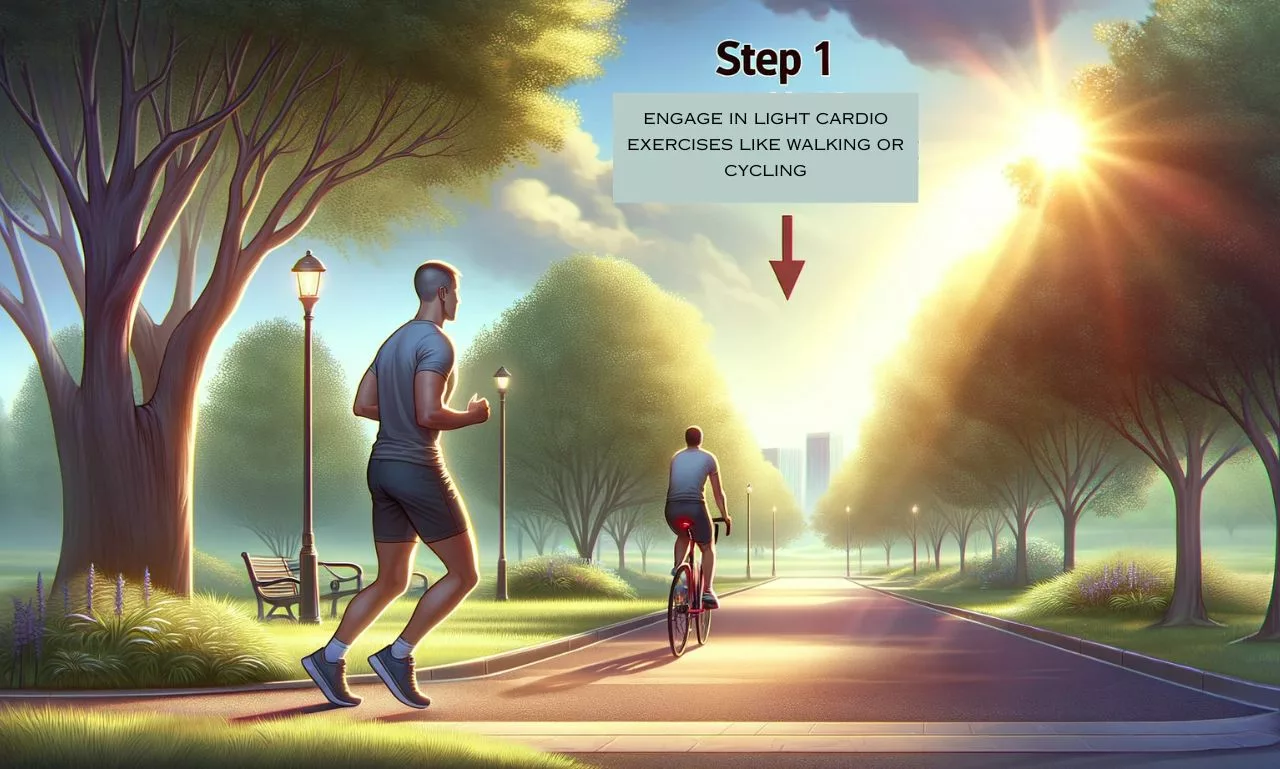
The primary goal of this initial step is to increase blood flow to the muscles surrounding the sacroiliac (SI) joint. Enhanced blood circulation helps in warming up the muscles, making them more pliable and less prone to injury during stretches and exercises. This step is crucial as it prepares the body for the more targeted movements that will follow, specifically aimed at addressing SI joint issues.
Method:
- Choose Your Cardio Activity: Opt for low-impact cardio exercises that are gentle on the joints. Walking and cycling are excellent choices as they are easy to modulate according to your fitness level and are generally safe for people with SI joint discomfort.
Walking:
- Duration: Aim for a brisk walk lasting between 5 to 10 minutes.
- Pace: Keep a pace that elevates your heart rate but still allows you to speak comfortably.
- Terrain: Choose a flat, even surface to avoid unnecessary strain on your SI joint.
Cycling:
- Duration: Cycle for 5 to 10 minutes if you choose this option.
- Intensity: Maintain a steady, moderate pace. If using a stationary bike, set it to a low resistance level.
- Posture: Ensure the bike is adjusted to your height to avoid overextension or compression of the SI joint.
Monitor Your Body: Throughout the cardio session, stay attentive to your body’s signals. If you feel any pain or discomfort specifically around the SI joint area, reduce the intensity or switch to a more comfortable activity.
Step 2: Knee-to-Chest Stretch
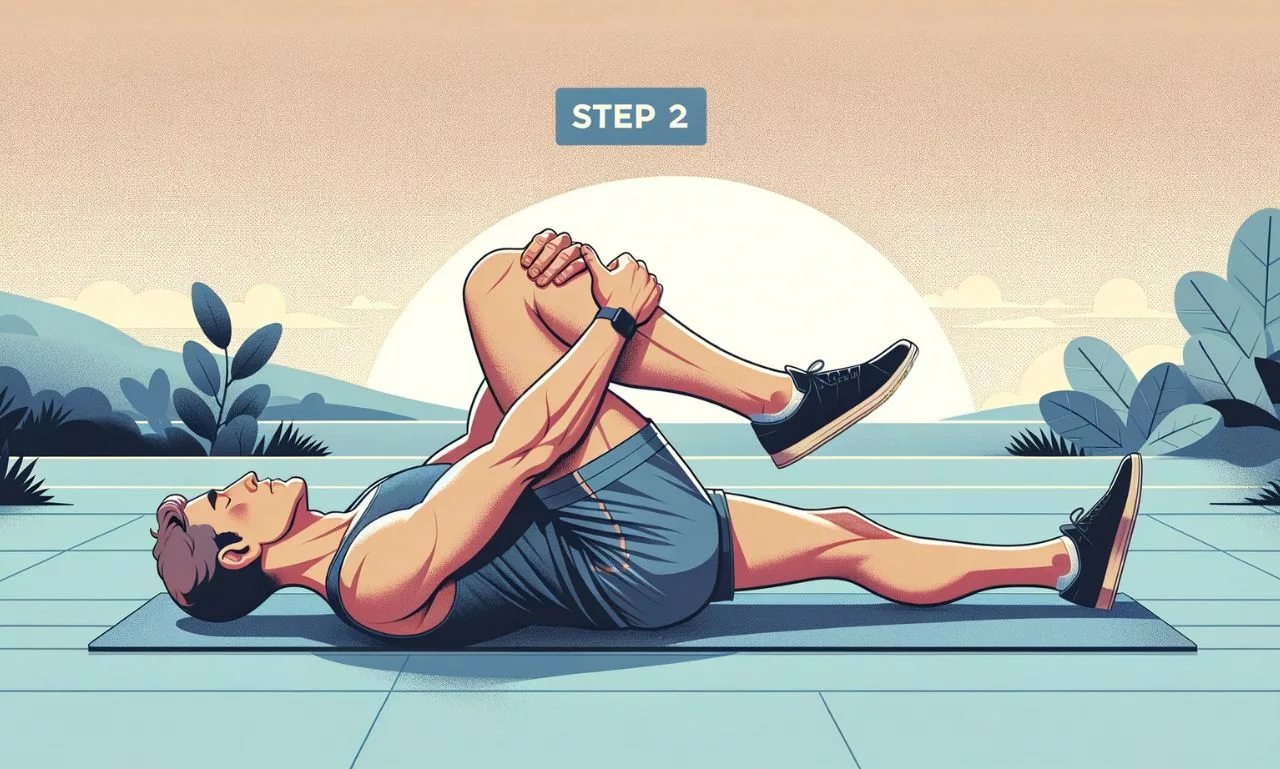
The Knee-to-Chest Stretch is designed to target the lower back and the muscles surrounding the sacroiliac (SI) joint. This stretch aims to alleviate tension in these areas, which can often contribute to SI joint pain. By gently pulling the knee towards the chest, this stretch helps in elongating the lower back muscles and the gluteal muscles, promoting relaxation and flexibility in the pelvic region.
Method:
- Find a comfortable, flat surface to lie down on, such as a yoga mat or a firm bed.
- Lie on your back with your legs extended straight and your arms resting by your sides.
Performing the Stretch:
- Flex one knee and gently draw it toward your chest. Wrap your hands around your shin or the back of your thigh, whichever is more comfortable and accessible.
- Gently pull the knee closer to your chest until you feel a comfortable stretch in your lower back and buttock area. Be mindful not to force the knee too much, as overstretching can cause discomfort.
- Keep your head, neck, and the other leg relaxed and in a neutral position on the ground. Avoid lifting your head or tensing your shoulders.
Duration and Repetition:
- Hold the stretch for 20-30 seconds. You should feel a soothing stretch but no pain. If you feel any discomfort, ease off the stretch slightly.
- Slowly release the leg back to the starting position.
- Repeat the stretch with the other leg.
Breathing: Breathe deeply and evenly throughout the stretch. Inhale as you bring your knee towards your chest and exhale as you hold the position. Proper breathing helps in maximizing the stretch and promotes relaxation of the muscles.
Step 3: Piriformis Stretch
The primary goal of the Piriformis Stretch is to target the piriformis muscle, a small muscle located deep in the buttock, near the SI joint. This muscle can often become tight and contribute to SI joint pain, as well as sciatic pain, because of its proximity to the sciatic nerve. Stretching the piriformis can help alleviate this tension, improving mobility and reducing discomfort in the pelvic and lower back regions.
Method:
- Locate a flat, comfortable area to lie down, like a yoga mat. Position yourself on your back, ensuring that your knees are bent, and your feet are firmly planted on the ground, maintaining a distance that’s equivalent to the width of your hips.
Performing the Stretch:
- Cross one leg over the other by placing the ankle of one leg on the opposite knee, creating a figure-four shape. This is your starting position.
- Gently lift the uncrossed leg off the floor, bringing the knee towards your chest. You can assist this movement by placing your hands behind the thigh of the lifted leg or on top of the knee.
- As you pull your leg towards your chest, you will begin to feel a stretch in the buttock of the crossed leg. Ensure that the stretch is comfortable and does not cause pain.
- Keep your head and shoulders relaxed on the floor, and avoid lifting your head or straining your neck.
Duration and Repetition:
- Hold the stretch for 20-30 seconds, focusing on a deep, steady breath to help deepen the stretch gently.
- Slowly lower your legs back to the starting position and repeat the stretch with the opposite leg.
Breathing: Inhale deeply as you set up the position, and exhale slowly as you deepen the stretch. Proper breathing helps in relaxing the piriformis muscle and enhances the effectiveness of the stretch.
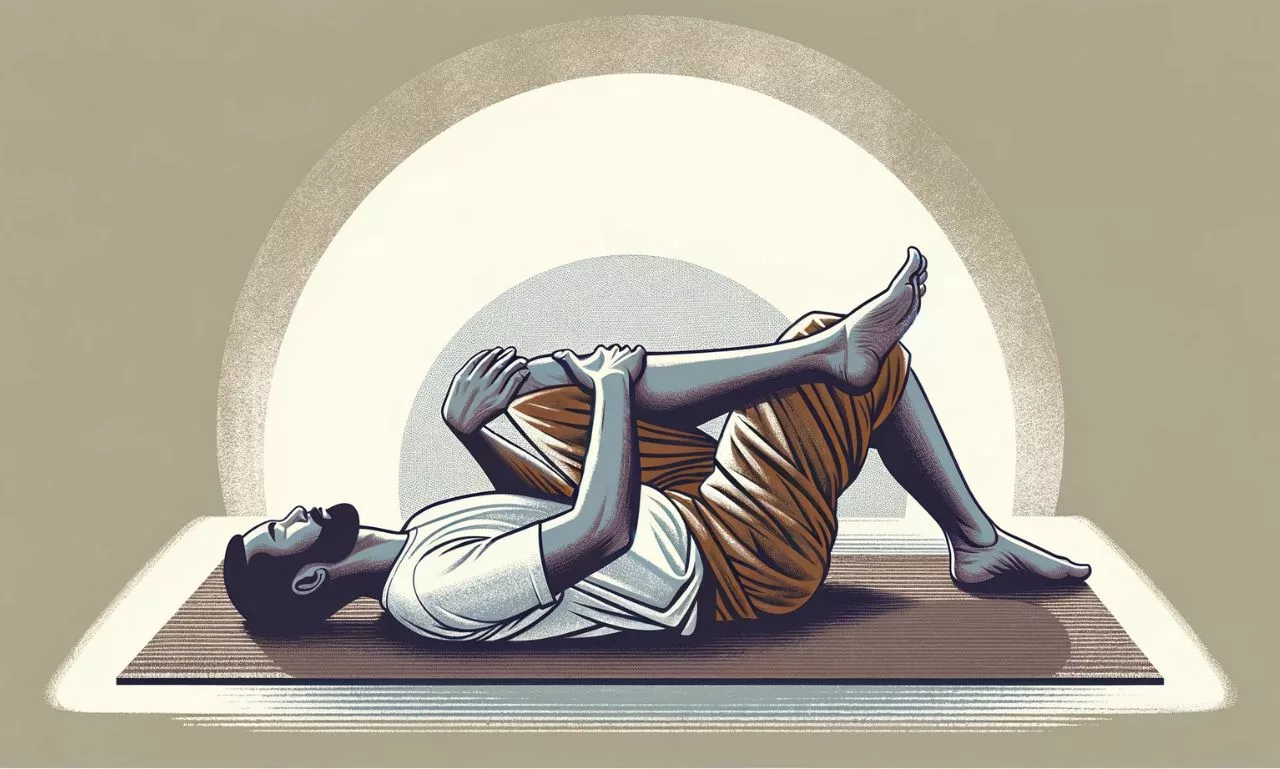
Step 4: SI Joint Self-Manipulation

The purpose of SI Joint Self-Manipulation is to gently mobilize the sacroiliac (SI) joint. This technique aims to provide relief from stiffness and improve range of motion in the SI joint area. It is especially beneficial for those experiencing mild discomfort or restricted movement in the lower back or pelvic region due to SI joint dysfunction.
Method:
- Find a comfortable, flat surface to lie down on, like a yoga mat.
- Position yourself on your back, ensuring your knees are bent and your feet are firmly placed on the floor, spaced at the width of your hips.
Performing the Self-Manipulation:
- Cross your arms over your chest, with each hand placed on the opposite shoulder. This helps to stabilize your upper body and engage your core.
- Engage your abdominal muscles slightly to maintain a stable pelvis and lower back.
- Gently and slowly rock your knees from side to side, maintaining a controlled motion. The movement should be driven by your lower body, with your feet staying in contact with the ground.
- As you rock your knees, allow them to drop only as far as comfortable, without lifting your opposite hip off the ground. The motion should be smooth and rhythmic, not jerky or forced.
- Keep your upper body, including your shoulders and head, relaxed and still on the floor. Your focus should be on the movement of the lower body.
Duration and Repetition:
- Continue this gentle rocking motion for about 1-2 minutes, depending on your comfort level.
- Perform this exercise slowly, giving attention to any sensations in the SI joint area.
Breathing: Maintain steady and relaxed breathing throughout the exercise. Inhale deeply as your knees go to one side and exhale as you bring them back to the center.
Step 5: Hip Flexor Stretch

The Hip Flexor Stretch is designed to specifically target and stretch the hip flexor muscles, which include the iliopsoas group located at the front of the hip. Tight hip flexors can contribute to an imbalance in pelvic alignment and increase stress on the sacroiliac (SI) joint. By stretching these muscles, you can help alleviate tension in this area, potentially reducing SI joint discomfort and improving overall hip mobility.
Method:
- Find a comfortable, non-slip surface such as a yoga mat for this exercise.
- Begin by kneeling on one knee, with the other foot placed flat on the ground in front of you, creating a 90-degree angle at both knees.
Performing the Hip Flexor Stretch:
- Ensure your front knee is directly above your ankle and not pushing past your toes to maintain proper alignment and prevent knee strain.
- Keep your back knee positioned directly under your hip. You can place a cushion or folded towel under your back knee for extra comfort, especially if you have sensitive knees.
- Engage your core muscles and tuck your pelvis slightly to prevent arching your lower back. This pelvic tilt is crucial for effectively targeting the hip flexors.
- Gently shift your weight forward, moving your hips towards your front foot. You should feel a stretch in the front part of your hip and thigh of the back leg.
- As you move into the stretch, keep your upper body upright and avoid leaning forward. Your shoulders should be over your hips to maintain proper posture.
Duration and Repetition:
- Hold the stretch for about 20-30 seconds, feeling a comfortable stretch in the front of your hip.
- Slowly return to the starting position and repeat the stretch on the opposite side.
- You can perform this stretch 2-3 times on each side.
Breathing: Breathe deeply and steadily while performing this stretch. Inhale as you prepare and exhale as you deepen into the stretch. Proper breathing can enhance the effectiveness of the stretch and help maintain relaxation.
Step 6: Lower Back and Pelvic Tilt Exercises

The Lower Back and Pelvic Tilt Exercises are aimed at strengthening and stabilizing the muscles around the sacroiliac (SI) joint. These exercises focus on the lower back, abdominal muscles, and pelvic muscles, which play a crucial role in maintaining proper alignment and support for the SI joint. Strengthening these areas can help reduce strain on the SI joint, improve posture, and prevent lower back pain.
Method:
- Choose a flat, comfortable surface, such as a yoga mat, to lie down on.
- Lie on your back with your knees bent, feet flat on the floor, and arms by your sides. Ensure that your feet are spaced apart at the width of your hips and aligned parallel to each other.
Performing the Pelvic Tilt Exercise:
- Begin by focusing on your breathing. Inhale deeply and relax your body.
- As you exhale, engage your abdominal muscles and gently tilt your pelvis towards your belly button. This movement will flatten your lower back against the floor.
- It’s important to perform this movement in a slow and controlled manner. The motion should come from the pelvis, not the legs or hips.
- Your buttocks should remain relaxed, and your feet should stay firmly on the ground.
Duration and Repetition:
- Hold the tilt for about 3-5 seconds.
- Gently release and return to the starting position.
- Repeat this exercise 10-15 times. As you grow more accustomed to the exercise and find it easier, gradually raise the number of repetitions you perform.
Breathing: Coordinate your breathing with the movements: inhale when returning to the starting position and exhale during the pelvic tilt. Proper breathing helps in activating the core muscles more effectively.
Step 7: Bridge Exercise
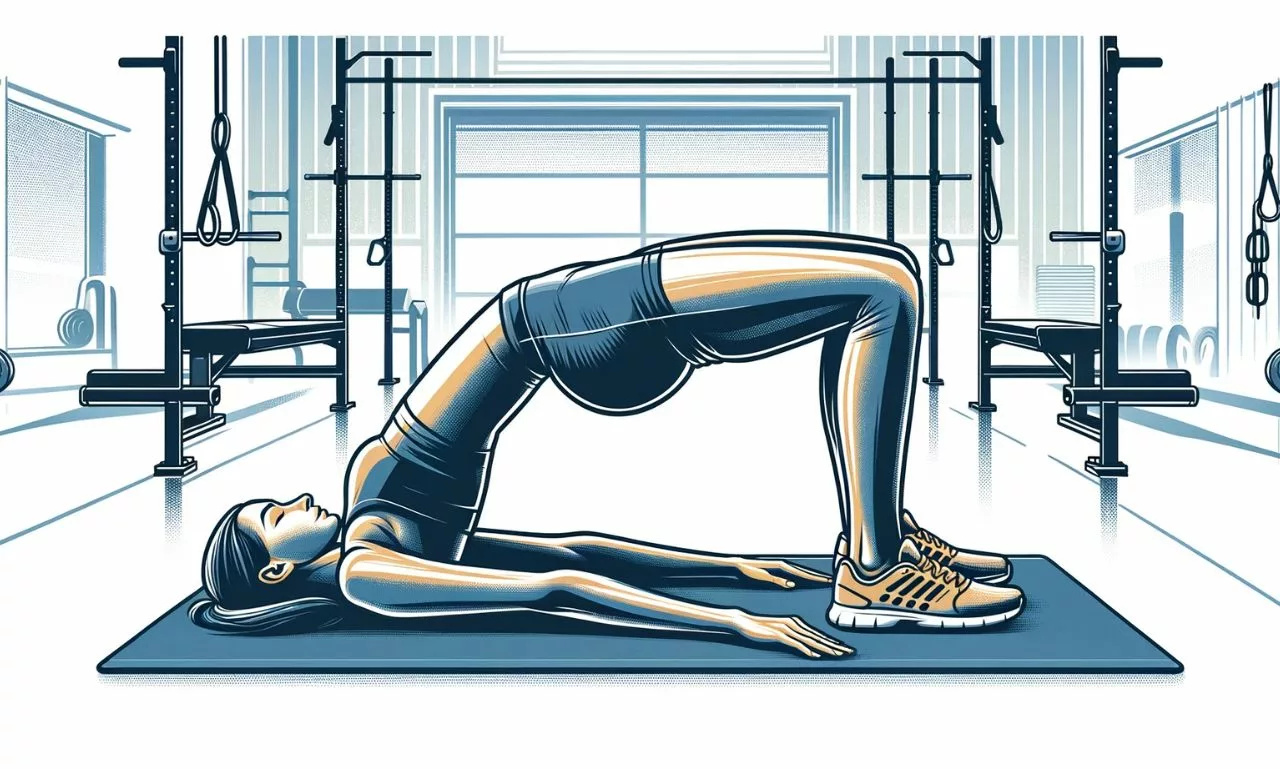
The Bridge Exercise is designed to strengthen the gluteal muscles and the lower back, which are key supporters of the sacroiliac (SI) joint. This exercise not only helps in stabilizing the pelvis and SI joint but also enhances core strength and improves posture. Strengthening these areas is crucial for reducing the strain on the SI joint and for overall lower back health.
Method:
- Find a comfortable and flat surface, like a yoga mat, to lie on.
- Position yourself on your back, ensuring your knees are bent and your feet are firmly placed flat on the floor. Your feet should be hip-width apart and parallel, and your arms should be resting by your sides with palms facing down.
Performing the Bridge Exercise:
- Begin by focusing on your breathing. Inhale deeply while in the starting position.
- As you exhale, slowly lift your hips off the floor by pressing your feet and arms into the ground. Engage your glutes and abdominal muscles as you lift.
- Lift your hips upwards until your body achieves a straight alignment extending from your shoulders through to your knees. Ensure that your shoulders, hips, and knees form a linear and aligned configuration. Avoid arching your back excessively; the lift should come from your hips and glutes.
- Ensure your thighs are parallel to each other and your knees do not splay outwards.
- Hold this position for a few seconds, focusing on a strong contraction in your glutes and a stable core.
Duration and Repetition:
- Hold the bridge position for about 3-5 seconds.
- Slowly bring your hips down to return to the starting position.
- Repeat the exercise for 10-15 repetitions. As your strength improves, you can gradually increase the duration of the hold and the number of repetitions.
Breathing: Coordinate your breathing with the movements: inhale as you lower your hips, and exhale as you lift them. Proper breathing helps in maintaining a rhythm and ensures effective muscle engagement.
Step 8: Child’s Pose
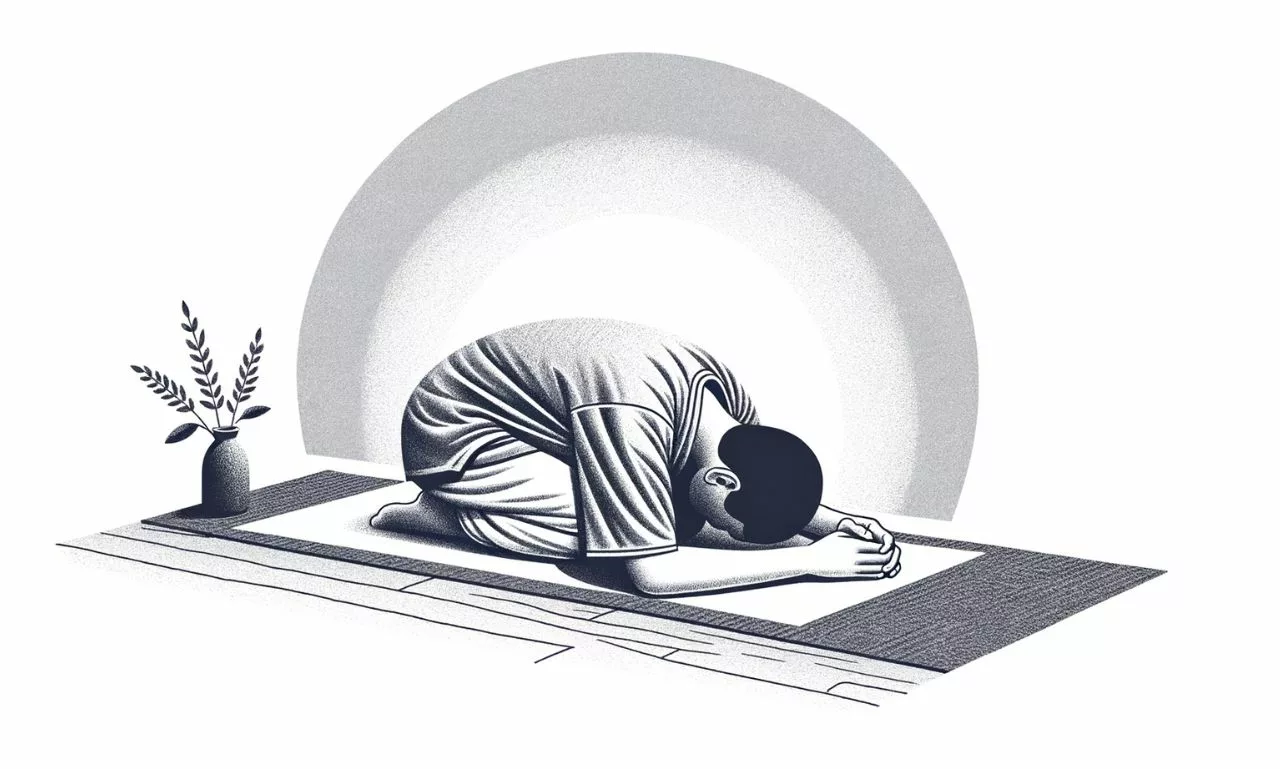
Child’s Pose is a restorative yoga posture that aims to relax and gently stretch the muscles of the back, hips, thighs, and ankles. It is particularly beneficial for releasing tension in the spine and sacroiliac (SI) joint area. This pose is known for its calming effect on the mind and body, making it an excellent way to conclude a series of exercises, especially those targeting the SI joint and lower back.
Method:
- Begin by kneeling on a comfortable, flat surface such as a yoga mat. Keep your knees together or slightly apart, depending on what feels more comfortable for your hips.
- Sit back on your heels. If this is uncomfortable, you can place a cushion or folded blanket between your thighs and calves.
Entering the Child’s Pose:
- Inhale deeply while in the kneeling position.
- As you exhale, slowly fold forward from your hips, extending your arms out in front of you on the mat.
- Gently lower your torso between your thighs and rest your forehead on the floor. If your forehead doesn’t comfortably reach the floor, you can rest it on a yoga block or folded blanket.
- Extend your arms forward with palms facing down, allowing your shoulders to relax. Alternatively, you can bring your arms alongside your body with palms facing up for a more relaxed shoulder position.
Holding the Pose:
- Hold the Child’s Pose for 30 seconds to a few minutes, depending on your comfort level. Focus on taking slow, deep breaths to enhance relaxation.
- With each exhale, allow your body to sink deeper into relaxation, releasing tension in your back, shoulders, and hips.
Exiting the Pose:
- To come out of the pose, use your hands to gently push yourself back up to a sitting position on your heels.
- Take a moment to sit upright and observe any changes in your body.
Child’s Pose can be modified for more comfort or to accommodate physical limitations. For example, if it’s difficult to sit back on your heels, you can widen your knees more or place a cushion under your hips.
Conclusion: Maximizing the Benefits of SI Joint Exercises
Regular Practice:
Consistency is the cornerstone of any successful exercise regimen, especially when it comes to managing SI joint discomfort. To achieve the best results:
- Set a Routine: Aim to perform these exercises regularly, ideally daily or at least several times a week. Consistent practice helps in gradually building strength and flexibility in the targeted areas.
- Progress Gradually: Start with a few repetitions of each exercise and gradually increase as your strength and flexibility improve. Keep in mind, the focus should be on the quality of each movement rather than the quantity performed.
- Track Your Progress: Keep a journal or use an app to track your exercise routine. This can help in monitoring your progress and staying motivated.
Listen to Your Body:
Understanding and respecting your body’s limits is crucial in any physical activity. To ensure safety:
- Pain vs. Discomfort: It’s normal to feel a stretch or mild discomfort when exercising, but sharp or persistent pain is a warning sign. If you experience any pain during an exercise, it’s important to cease the activity right away.
- Adjustments and Modifications: Don’t hesitate to modify an exercise to suit your comfort level. Using props like cushions or straps can help.
- Rest and Recovery: Allow time for your body to rest and recover, especially if you’re experiencing soreness from the exercises. Overworking your body can lead to injury.
Seek Professional Advice:
While these exercises can be beneficial for SI joint health, they are not a one-size-fits-all solution. For personalized guidance:
- Consult a Healthcare Provider: Before starting any new exercise program, especially if you have a history of SI joint or back issues, consult with a healthcare professional.
- Physical Therapy: A physical therapist can provide tailored exercises and stretches based on your specific condition and needs.
- Regular Check-Ups: Regular visits to your healthcare provider can help track your progress and make necessary adjustments to your exercise regimen.
Final Thoughts:
These exercises, when performed correctly and consistently, can greatly contribute to alleviating SI joint discomfort and improving overall pelvic health. Keep in mind that achieving better health is a long-term endeavor, more akin to a marathon than a quick sprint. Be patient with your body, celebrate small victories, and stay committed to your routine. With time and practice, you can achieve significant improvements in your SI joint health.


