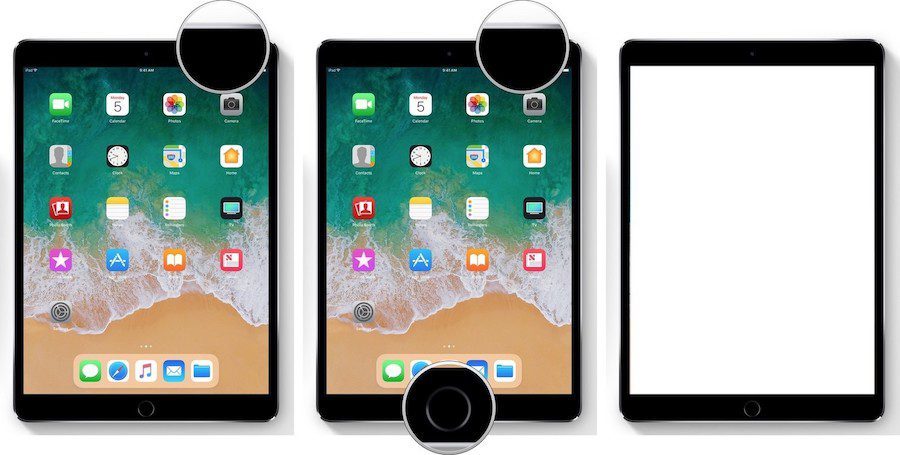
Taking an iPad screenshot is a great way to share epic game wins, great video moments, funny social media chat messages, feedback on your projects, bug reports you want to report, and just about anything else displayed on the iPad screen. But, how to take a screenshot on the iPad? Instructions below!
Table of Contents
How to take a screenshot on iPad Pro
The iPad Pro does not have a home button, so screenshots are taken with a different combination of buttons.
- Go to the screen where you want to take a screenshot.
- Make sure that the screen has all the elements that you want to see in the picture.
- Simultaneously press the power buttons on the top of iPad Pro and the volume up button on the right side of iPad Pro.
The screen will blink white and you will hear the sound of the camera shutter clicking (if the sound is on).
How to take a screenshot on iPad, iPad mini, iPad Air or iPad Pro (2017 and older)
- Launch the application (or applications in picture-in-picture mode) that you want to take a screenshot.
- Position the app(s) exactly how you want them to appear in the screenshot.
- Press and hold the Power buttons
- Quickly press the Home button .
- Release both buttons.

While you can try pressing both buttons at the same time, holding down the Power button for a moment before pressing the Home button will reduce the chance of Siri accidentally turning on or if you need to take a screenshot of the screen. You must do this quickly or the power off screen will open.
After successfully launching the screenshot function, you will see a white flash and, if the sound is turned on, you will hear the sound of the camera shutter. This confirms that a screenshot has been taken and saved to the iPad.
How to edit screenshots with Markup
In iOS 11 and later, as soon as you take a screenshot, it will appear in the lower-left corner of the screen and stay there for a few seconds, then disappear.
With Markup, you can use a marker, pencil, eraser, or text to edit and write comments on a screenshot. You can also change the color of these tools: white black, blue, green, yellow, and red. There is a markup tool, with which you can crop the screenshot. Press and hold one of the edges or corners and drag the markup to the position you want.
There are four additional tools that can be added to a screenshot in Markup by clicking on the More button in the lower right corner of the screen (looks like a plus symbol), namely:
- Add text field – allows you to add text to the screenshot. Click on it to select a tool, then click on the added text box to bring up the keyboard so you can write your comment.
- Signature – If you already have a signature in Preview, you can add it to the screenshot.
- Magnifier – This feature allows you to magnify a specific area in a screenshot. You can change the size or border of the magnifier, and zoom in or out.
- Shapes – You can add a specific shape to the screenshot. You can also change the shape’s outline and adjust its size and shape by dragging the edges.
If you make a mistake, you can cancel the last step by clicking on the cancel button in the lower-left corner of the screen. And vice versa, you can repeat any steps by clicking on the repeat button in the same place.
You can also share your screenshots directly from the Markup interface. Just click on the share button and select a service.
Where screenshots are stored on iPad and iPad Pro
If you don’t use Markup, you will still have access to screenshots. You can also edit and share them using the Markup feature or the photo editor for iOS.
- Launch the Photos app .
- Click on ” Albums “.
- Click on ” Screenshots “.
You can also find screenshots in the main Photo and Camera albums.

